Anything "Duochrome" or "Chameleon" can also be found using the tag "Color Shifting"

Updates & Notices

Warning: This blog and some info within is out of date. The date of any updates are usually noted at the top of each page/entry. As of 1/08/20, all pages have had dead links removed/repaired as well as 2010 entries and 2011 Jan-July.
Showing posts with label Misc: Decor & Crafts. Show all posts

Saturday, February 1, 2020

Color Shifting Rocks

Glass rocks from the Dollar Tree, painted on the back with layers of Glitter Unique's Color Shifting Flakes, Ultra Chrome Chameleon Flakes, Illusion Flakes, (the different flakes are not mixed up on one rock, each is a different color) SpectraFlair-35 (Glitter Unique sells that too) and a holographic glitter polish I made forever ago. The final layer was black for contrast. The last two photographs are with flash.

I made a lot of rocks in different sets but these are my favorites. Delightfully shifty and holographic.


With Flash...


Monday, January 13, 2020

Glitter Hippo Color Shifting Glitters (for crafts)

It should come as no surprise that I have a massive collection of glitter, enough to fill two empty cat litter buckets (because those things are so handy for storage), one for solvent resistant, nail polish glitters and the other for the crafting variety. The Glitter Hippo glitters are the crafting type but no less fun to play around with, especially the color shifters and I have them to show you, as well as the “project” I’ve been using them for the last couple days.

Glitter Hippo’s glitters aren’t solvent resistant and Glitter Hippo doesn’t say they are- I’m putting that out there because this is a nail polish blog usually but every once in a while, I like to share crafty things too. They will bleed when exposed to polish, such as when being sprinkled onto wet polish, so they'd bleed in nail polish too- and that was ok with me since I bought the larger size for glittering Christmas ornaments last year and didn't intend to use them for polish. I like the look of the glitters so much that the ornaments stay on display year-round with my glass collection, and when I saw those glitters were being sold in a finer size, I knew I’d eventually buy them too.

Last year's ornaments prior to having the tops replaced, showing the 1/24" size color shifters.

Their place-of-display (in four shots) on top of my kitchen cabinets, bringing more color into the room.

The glitters are sold in 20 gram packages and are currently on sale, priced at $3.00 instead of the regular price of $4.00. That’s a really good deal, because true color shifting glitters are slightly harder to find (I’ve looked) and usually come in smaller package size with a higher price tag. They are mostly hex cut glitters but some colors are available in other shapes too such as stars, diamonds and butterflies- 20 grams, normally $5.00, also on sale for $3.00.

Rather than attempting to show you the color shift of each glitter with still photos, I made a short video for each set, one for the 1/24” size and one for the 1/128”, then uploaded them to my polish-related You Tube account (links for them below). Please excuse both the jerkiness of my filming and the background noise, I don’t have a lot of experience making videos, plus one of my cats wanted to use the table more than I did lol (no one eats at that table for the record).


Size: 1/24" (which is .042" inch or 1.067mm)
YouTube video link
Tropical Robot
Maleficent
Fairy Wings
Mermaid’s Tail
Autumn Leaves
Daydream
Gnomeones Home
Dragon Egg
Pink Sugar
Pink Lemonade
Dahlia Dahlia Bills, Y'all
Watermelon Sprinkles
Unicorn Tears (not purchased or shown)


Size: 1/128" (.007" inch or 0.1984375mm)
YouTube video link
Mermaid Sparkles
Fairy Dust
Dragon Scales
Spiked Apple Cider
Watermelon Bubblegum
Gnome Mischief
Head in the Clouds
Rusted Robot
Mistress of Evil (Out of stock at the time of my order so not shown)
Autumn Afternoon (Out of stock at the time of my order so not shown)
Unicorn Magic (not purchased or shown)

When the new, finer sized color shifters arrived, I turned them into ornaments too (using Beacon Glitter It!), then looked around for something else to use the glitters on. After rejecting various ideas, I ended up grabbing the oval glass cabochons and the clear acrylic adhesive ones I bought for my not-quite-successful nail polish pendants years ago and tried glittering the backs using clear nail polish as the adhesive. I made many before I realized the exposure to the wet polish was causing the color to bleed from the edges of the glitter and while the effect wasn’t awful, it was ruining some of the color shifting. Below is Maleficent on the back of a glass cab, where the contrast between the dark purple of the glitter and the now green edge bleed is most obvious.

I tried Mod Podge Gloss next, using it in the same way as the clear nail polish. I applied a thin layer of Mod Podge, sprinkled some glitter on and pressed it down, until the back was fully covered. Let dry and repeat… typically took three or four layers until opaque from the front. The MP goes on white but dries clear and even though it will dull the shine of glitter a little, the glass helps offset that.

On the left is the clear polished cab (with edge bleed), the right is the Mod Podge'd cab

While the cabs were flipped face down and drying, I realized the back looked a bit like a simulated druzy quartz (Google it if you don’t know what I am talking about) and I kind of like that effect too.

I moved on to glittering those decorative clear glass (flat-backed) rocks the Dollar Tree sells and wanted to add a couple things about using the Mod Podge to do this.
- It doesn't matter a lot what paint brush you use for the first coat but for any successive coats, I'd advise a softer brush with a slightly thicker layer of the Mod Podge. A firmer paint brush will remove some glitter while you're applying the MP which you don't want, and the thicker application helps with drag.
- Press down lightly on the glitter immediately after sprinkling it on and leave it alone to dry completely, then knock off the excess glitter. You'll have better coverage that way.
- After you've put as many layers on as you want, seal the back with a final layer of Mod Podge to keep the glitter from falling off.
- One final note on using Mod Podge on glass. Glass isn't porous and the adhesive bond is not permanent so if you're rough with them or you pick at the glitter purposely, it will come off. I colored wine glasses using Mod Podge+food coloring for decoration and a couple years later was still able to peel it off the glasses. I used it on my front door the same way to simulate stained glass and know when I get tired of looking at it, removing it won't be a problem.

I have no idea what I'll use these for, maybe like large, smooth rhinestones or maybe I'll just throw them in a bowl as decorative pretties.

Go check out Glitter Hippo's glitters if you haven't already. They sell much more than color shifting glitters, all affordably priced- see categories below. -MK

Thermal Glitter, UV Glitter, Holographic, Shimmer, Color Shift, Shapes, Chunky Glitter, Chunky Mix, Crystal Glitter, Glow In The Dark, Micro, Iridescent, Iridescent Dream Glitter, Fluorescent, Matte, Matte Metal, Glitter Blends, Biodegradable Glitter, Mylar Flakes

Saturday, March 19, 2016

Glitter Swatches

Oh, I know that everything on this blog is out of date and in some cases, I have dead links as stores and their inventory have changed. To be truthful, I haven't the inclination to spend the endless hours required to fix those things (or to even write entries for my other blog). I'm so out of the loop and the hobby, I have little idea what has been going on in the polish world; I haven't even bought a bottle of nail polish in quite a bit over a year. The exception is, I still come here regularly to check the Blog List for everyone else's interesting posts.

I am here now to share with you a few links to photo albums (swatches) I have posted on Facebook, the reason being that I've been on a glitter buying spree lately and wanted to share color photos for the glitters from Glitter Unique, TKB Trading, Glitter Hippo (sister company to Solar Color Dust), and The Crafts Outlet. I bought everything for crafts but all the glitters except those from The Crafts Outlet are supposed to be solvent resistant which makes them worth perusing. Album links below.

New (to me) Glitter Unique glitters
TKB Trading: Solvent Resistant Glitters
Glitter Hippo Glitters
The Crafts Outlet Glitters (currently on sale)

-MK

Wednesday, June 11, 2014

At Home with the Dollar Tree

Since I know I didn't reply to every one of you for your comments and well wishes about the house, I want to extend a sincere THANK YOU. It was nice to be able to share the news and read your thoughts on the process and it did quite a bit to make me feel better. -MK

At the moment I am undecided if I'll even post this entry so I'm just going to write it the way I really want to. There are so many little details I want to share with someone, even if they seem silly or mundane.

We've been here just over a month and I've been extremely busy with all things house related so there hadn't been much idle time for my polish hobby. I did buy a few drugstore polishes and thought about mixing them up with some of the Solar Color Dust pigments I'd purchased in February(?) but the supplies were already packed so that idea was rejected. Instead I spent the entire month of April packing the apartment while waiting impatiently for the closing on April 30th. The month of May had been spent just enjoying the house and settling in.

We moved the same weekend we closed and like most people do, I found that I was moving out of the apartment with far more stuff than I moved in with and wondered how we had it all in the place. The high point was that my two sons, going on 15 and 17, were a great help and worked together to unload the truck themselves the second day, truly impressing to us. The low point would have been transporting my 4 cats to the new house the night before and having to leave them here alone; I think I suffered as much separation anxiety as they did. I swear I am not the crazy cat lady, not yet anyway, all 4 were strays and I think 4 is my limit- that's more than enough kitty litter that ends up on the floor.

I am excited enough about finally having a house that I had the majority of the boxes unpacked and put away within a day and few key decor items distributed around the house. Momentarily it's rather plain but also pleasant because having lived in a crowded, cluttered apartment for 8 years, I find myself extremely reluctant to display all my decorative items. Most have been relegated to my basement "studio" but more about that later. I've got a thousand decorating ideas flying through my head and thought I'd share a few here, things I've done with supplies I owned already and a few more purchased from the Dollar Tree. Bear in mind I am not a professional decorator or Martha Stewart but I know what I like and what works for me. Yes, this entry probably should be posted somewhere else but I have only the one blog.

I love my kitchen with it's oak colored cabinets, carved wood trim, granite counter tops and stone-look (I say "stone look" because I have no idea what it is) back splashes accented with diamonds of the same granite but the knobs were plain old black and I wanted to add something to it all. Years ago, I caught a segment of a decorating show and I remember the host saying that you can change the look of your kitchen just by changing the hardware on your cabinets and I thought that was a fine idea. Rather than going out and buying different hardware, I utilized things I already owned, in this case nail polish, glitter and pigments.

The granite in the counters is black with silvery white flecks with hints of red so that's what I decided to play off of. I made a very simple mixture of a now-discontinued .008" Sterling Silver glitter I bought from Coastal Scents several years ago, TKB Trading's Siren Red pigment and clear polish, testing it a few times on one of the knobs until I figured out less glitter and more pigment looked better. It took me about an hour to paint them all and the end result I thought was nicely understated and went well with the counters.

My basement is finished (meaning completely painted, tiled floor and entirely functional) and I have turned that space into my "studio"/decor-display area. While it's nice having a place to stash all of my craft supplies (I had no idea I had that much stuff until I saw it lined up against the wall), I still don't have a table or desk to work at so I starting thinking about what I could improvise with and minimize further spending. What I came up with, utilizing the polish drawers I own that already take up space, was to make a work table out of a hollow-core interior door, $20 at Home Depot. I don't actually have the door yet so I can't show you pictures but with the addition of a chair (I don't have one of those either),  I can see it being a fairly spacious area to work in if I arranged things right.

In my former apartment, jewelry was stored in different places around the house because the drawers of my free standing jewelry box were filled with other junk while my earring collection was deferred to the half bath where it occupied two walls (earrings falling off into the litter box was a definite hazard). Here in my house, I was able to create a central location for all my jewelry in the corner of my bedroom.

Since the jewelry box itself was offset in the corner, I had to anchor the mirror ($1.00 from Dollar Tree) that way as well. I tried velcro first but it didn't make enough contact with the walls to hold so I used a hot glue gun to glue pieces of ribbon to the sides and pinned it there with tacks, holes but minimal and small. The cherry blossom wall stickers I also got from the Dollar Tree, colored with paint markers (they were silver) and added as the first accent around the mirror. The other flowers on the ends of the branches I cut from a wallpaper sample, if I decide to include them when I take pictures. Up close it somehow irritates me but from a little farther away its a nice effect.

To keep the earrings organized and all together, I had to make new hangers and find a way to put them on the wall without making holes. The original version was made with rubbery shelf liner (Dollar Tree, $1.00) sandwiched between a cardboard frame with Elmers Glue and was then nailed to the wall all the way around for support, not pretty but functional. For the second version, I used foam board from Dollar Tree, cutting out the center so the frame is one solid piece and sandwiched the gripper stuff between the two with a combination of Elmers Glue and hot glue at key points. To hang them without making any holes, I used velcro strips (purchased from Walmart, maybe the only thing in the store made in the U.S.A.) all around the frames and stuck them on the wall that way.

I may never own a crystal chandelier but I enjoyed looking at them when we were at Home Depot recently and while Hubby shot me down on buying one (I'm still enjoying giving him a hard time about it) and I left without the chandelier, I also left with a few ideas to make one, or at least the effect of one. Fortunately for me, my bedroom came with a brass and glass light fixture in the ceiling that is also partially magnetic so I used magnets, metal Christmas ornament hooks and several cheap "Grad" necklaces from, you guessed it, the Dollar Tree, to create one.

Along with the grad necklaces, I've also picked up quite a few green and blues, also Dollar Tree merchandise. I've found uses for them as well- the blue and green grace my kitchen light fixture.

The kitchen "chandelier" is the second version, this time with a combination of velcro around the base of the fixture and aluminum jumprings instead of magnets. It's not sparkly like a traditional chandelier but its interesting and also pulled some more blues and greens into the room.

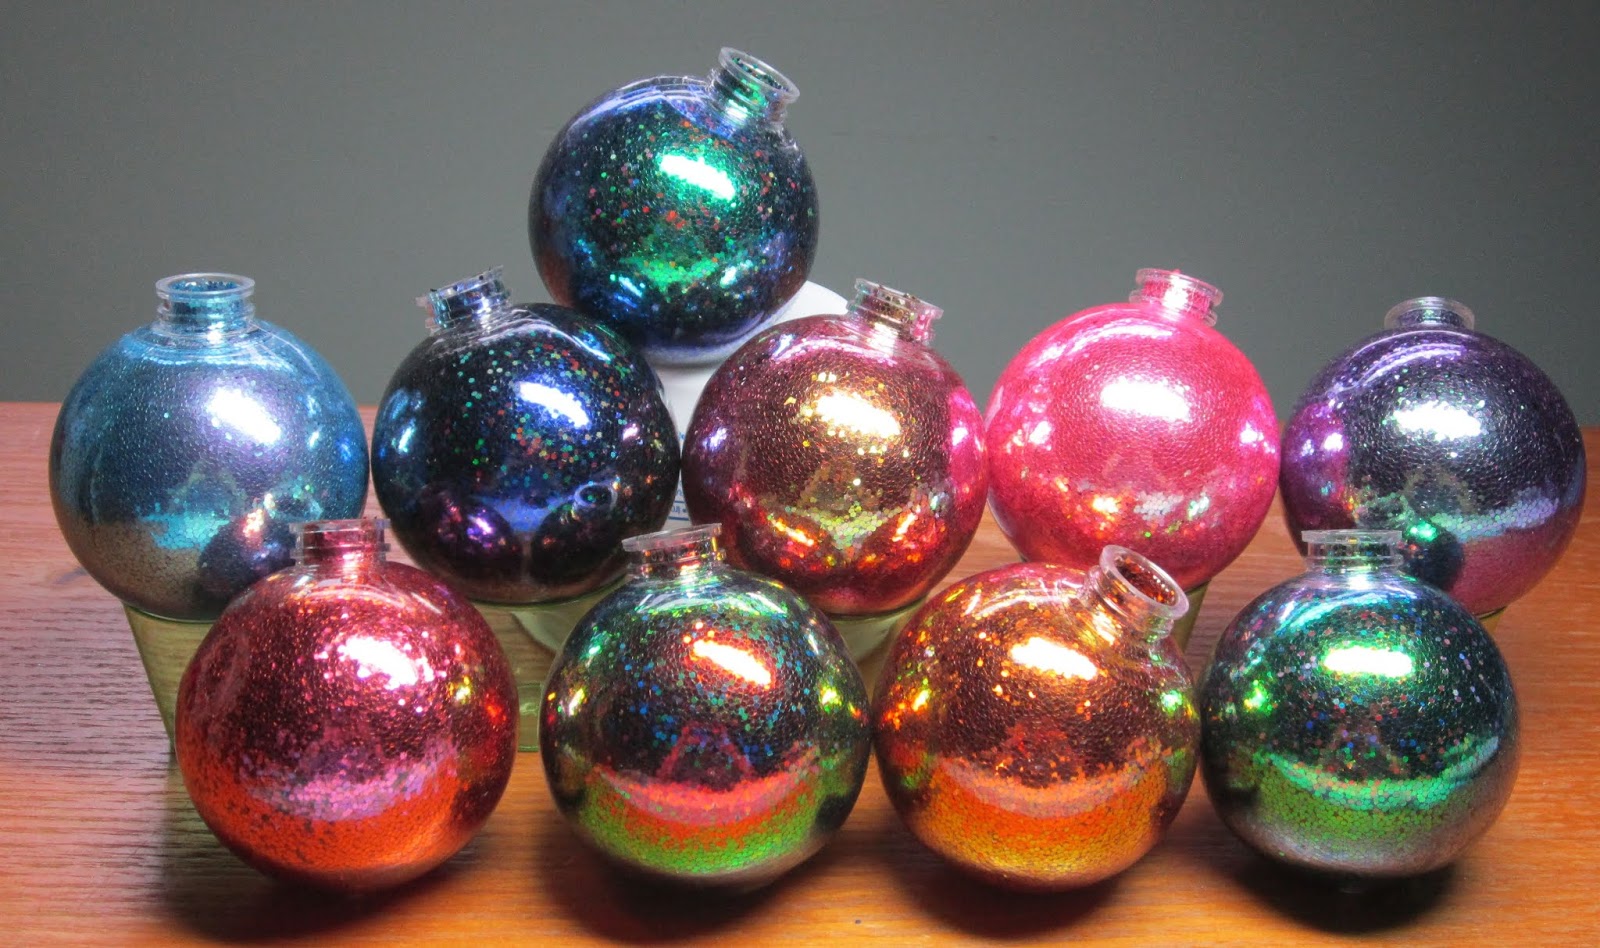
Those same blue beads helped decorate my formerly silver and white lamp in the living room, along with some rhinestones and blue and clear beads that came off Christmas ornaments I bought from Dollar Tree a couple years ago.

My final contribution for the day and to this entry was the hoop I made to suspend some ornaments from, based on the same idea as a chime (I own many as examples, all lined up by the sliding doors). This way I could hang multiple things from the ceiling from one hook and avoid having to make individual holes. I made this with craft wire from the Dollar Tree as the base wrapped with electrical tape, wrapped again with cloth ribbon and sealed with Mod Podge for rigidness and two more strands of craft wire wound around in opposite directions for more support. Fishing line was used to suspend it from the hook and to hang the ornaments from it. I should have also said that the hoop is rather large so it was easier for me to make something than look for something to buy that was pre-made.

 That was fun for me, I hope you got some entertainment value out of it too. Thanks for reading!

Also, since I know I didn't reply to every one of you for your comments and well wishes about the house, I want to extend a sincere THANK YOU. It was nice to be able to share the news and read your thoughts on the process and it did quite a bit to make me feel better. -MK

-MK

Friday, October 21, 2011

The “Hands Free” Funnel


I prefer putting pigments in a polish bottle by hand but after having spilled my expensive SpectraFlair pigment a few times, I decided it was time to utilize one of the various funnels I made, made instead of bought because you won’t find a metal funnel small enough. The problem with funnels is that they sometimes fall off the bottle if you’re not holding onto them; bump it and there goes pigment everywhere (which I’ve also done) so I improvised and made the “hands free funnel” with a few simple items I keep at my work area- Scotch tape, paper, index cards and toothpicks. 

- The first step would be making the funnel itself but I figure that’s pretty self explanatory so we’ll assume you already have one.

1. Cut a small strip from the index card just slightly wider than the neck of the bottle is tall.


2. Wrap it around the neck and tape it so it stays in the circular form- this will serve as the bottle collar later.


3. Cut several pieces from the toothpick the same length as the collar you just made and secure them at intervals around it with the tape- this will ensure that the funnel collar with fit loosely enough to slide on and off.


4. With the collar on the neck, cut a second strip from the index card but not as wide as the first, wrap it around and tape it to make sure it maintains the shape. This collar will be taped to the funnel itself.


5. Put the funnel on the second collar, check to make sure the angle is pointed straight down and tape the sides of the collar & the funnel together. You don’t want the tip of your funnel going all the way through the collar; you want it raised a bit higher.


- It ends up looking a little odd but functional.


With the pieces assembled, slip the bottle collar on the bottle and fit the funnel over it.

Your final product should look something like this.

The outer/inner collar design provides stabilization for the funnel, preventing it from falling over or off and frees up your hands for other things.

 I love improvising. -MK